

If you have ever thought an app should just do a repetitive task for you but assumed you would need to be a programmer, this guide is for you.
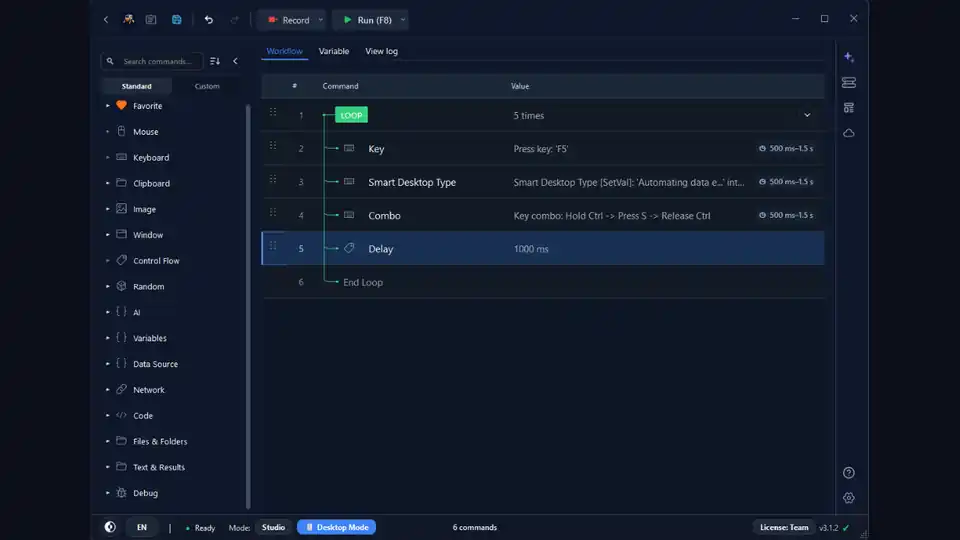
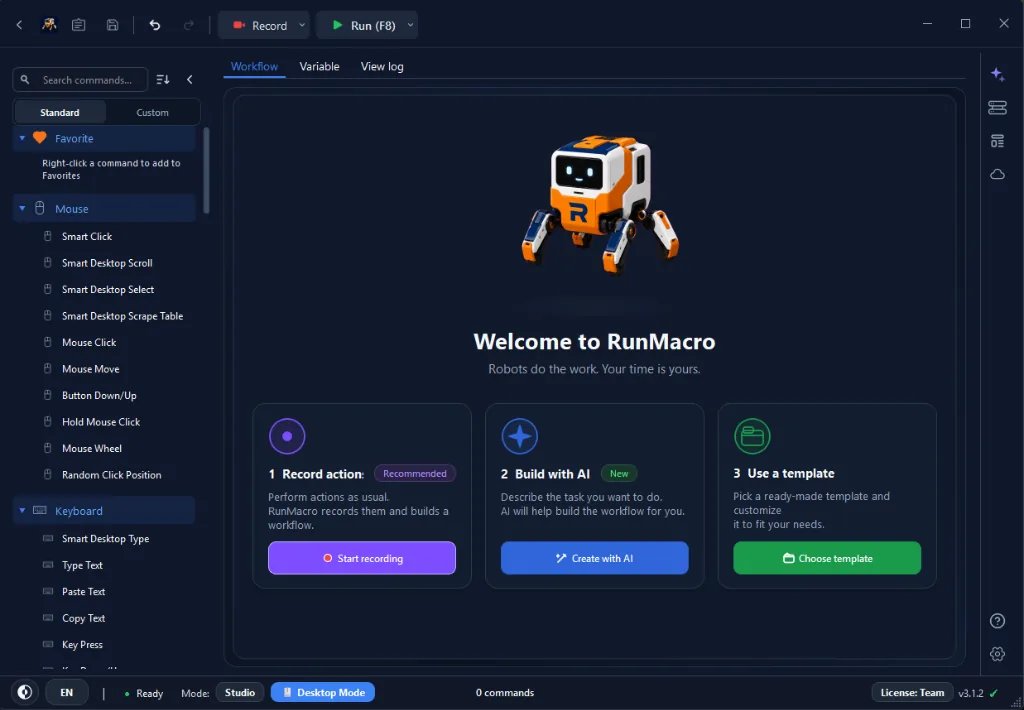
RunMacro is a no-code workflow builder for Windows: you assemble a list of visual commands, press run, and the software does the clicking, typing, and waiting for you. In the next few minutes you will go from an empty macro to a small automation that actually works.
What a workflow actually is
A workflow (or macro) is an ordered list of commands that runs from top to bottom. Each command is one small action: open an app, click a spot, type some text, wait a moment.
RunMacro executes them in sequence, exactly as written. Because every step is a visible block you can reorder, disable, or edit, building automation feels like arranging Lego rather than writing code. If this is your very first time, the Getting Started guide sets up the mental model in five minutes.
Two ways to create steps
There are two ways to add commands, and good builders use both:
• Manual — add commands from the sidebar; precise, best when you know exactly what you want.
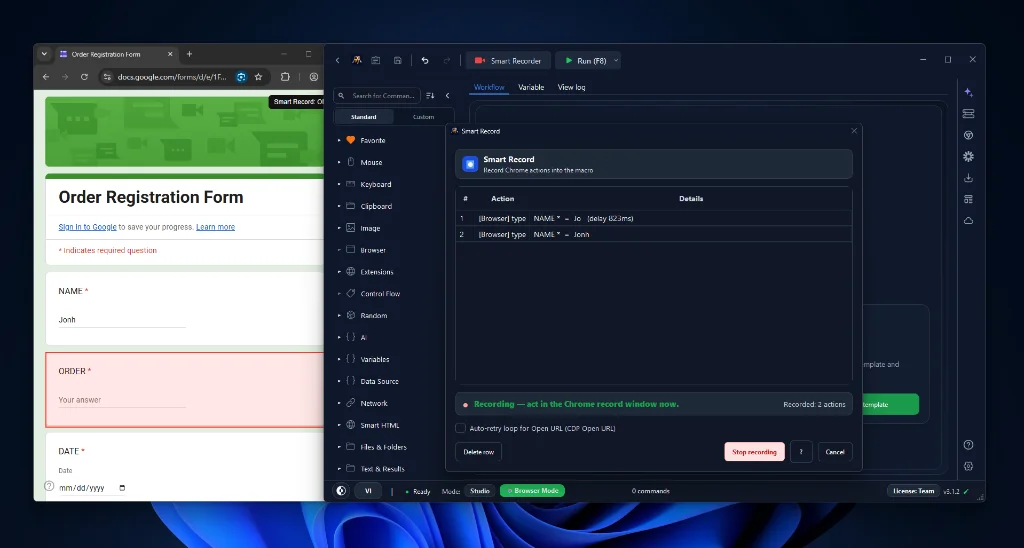
• Record — perform the task once and RunMacro captures it as editable commands (Smart Record handles browser actions).
The practical workflow for beginners: record the rough sequence to get the skeleton, then clean each step by hand. Recording gets you 80% of the way in seconds; manual editing makes it reliable.
Your first commands
| Command | What It Does | Why It Matters |
|---|---|---|
| 🚀 Open File / App | Launch the program or document you want to automate | Starting point for every desktop workflow |
| ✍️ Type Text | Enter text into the focused field | Use Paste Text for long strings or non-Latin input |
| 🖱️ Mouse Click | Press buttons, menus, or screen targets | Pair with Smart HTML for web or Find Image for desktop |
| ⏳ Delay / Wait for element | Wait for the app or page to be ready | The most important command — prevents the #1 cause of flaky automation |
A worked example: your first macro in five steps
Nothing teaches the mental model faster than one tiny end-to-end run:
[WORKFLOW: HELLO RUNMACRO]
1. OPEN APP "notepad.exe"
2. DELAY 1.0s              (wait for window to be ready)
3. TYPE TEXT "My first automation - {current_date}"
4. KEY COMBO "Ctrl + S"   (trigger Save)
5. RUN & WATCH
If the text appears in the wrong place, the app was not ready — lengthen the delay in step 2, or use Wait for element instead of guessing. That single fix teaches the most important lesson in automation: wait for the interface, do not race it.
Test early, refine often
Do not build twenty steps and then run for the first time. Add a few commands, run, watch what happens, and adjust. If a step fires too early, lengthen the delay before it. If a click lands in the wrong place, re-capture the position. If the app was not ready, wait for a visual cue instead of guessing a fixed time. This tight build-run-fix loop is the whole skill, and the first workflow tutorial walks you through it with a real example you can copy.
Growing from a recording into a real automation
A straight-line recording handles the happy path, but real tasks have variation. This is where logic comes in:
• Variables — so the same workflow handles different inputs.
• If / Else — react to conditions (do this if a popup appears, otherwise carry on).
• Loop — repeat a block until a list is finished.
You do not need all of this on day one, but knowing it exists changes how you think: instead of recording the same thing ten times, you build it once and let it adapt.
Desktop or browser: two kinds of target
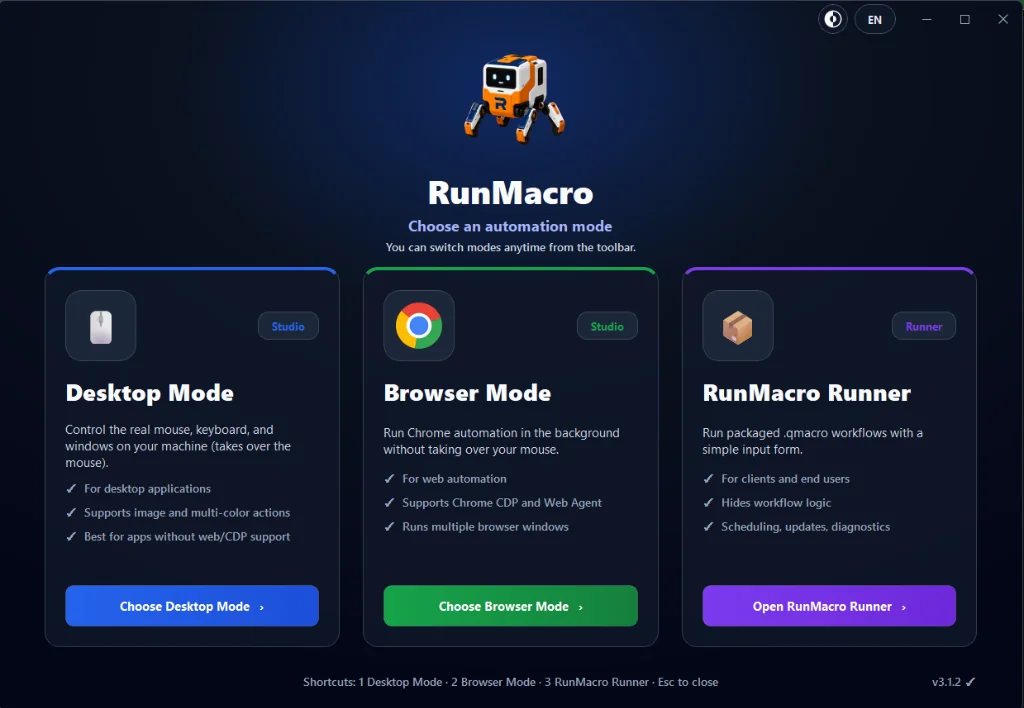
As you build, you will notice steps fall into two families:
• Desktop steps — drive Windows apps with the real mouse and keyboard, using Find Image where a control has no structure.
• Browser steps — drive Chrome by selector with Smart HTML, running in the background without your cursor.
One workflow can use both; the desktop vs browser automation guide explains which to reach for when.
Common beginner mistakes to avoid
| Mistake | Fix |
|---|---|
| No waits | The #1 cause of flaky macros. Add a Delay or Wait for element after anything that loads |
| Typing instead of pasting | For non-Latin input (IME) or long text, Paste Text is far more reliable than simulating keystrokes |
| Clicking fixed coordinates for everything | Target by image or selector so the workflow survives a moved window |
| Building big before testing | Small increments, run often. Easier to find the one step that broke when you only added one |
| No notes | Leave short comments so the version of you six months from now still understands it |
Frequently asked questions
Do I need any programming experience?
None. You build workflows by arranging visual commands — the whole point of a no-code builder.
Should I record or add commands manually?
Both. Record to get the rough sequence fast, then edit the steps by hand to make them reliable.
Why does my workflow click too early?
It is faster than the app. Add a Delay or wait for an element after anything that loads.
How big can a workflow get?
As big as you need — with variables, conditions, and loops, one workflow can handle complex, varied tasks.
Can AI build the workflow for me?
Yes. You can describe a browser task and let AI draft an editable workflow — see how to build workflows with AI — then review it the same way you would your own.
Is RunMacro free?
RunMacro offers a free trial. Current plan limits and pricing are listed on the pricing page.
Where to go next
Once your first macro runs end to end, you have everything you need to tackle something real. Build small, keep the build-run-fix loop tight, and reach for variables and conditions when a straight recording is not enough.