
Docs
RunMacro Documentation
Create your first robot, then go further as needed.
Clear step-by-step guides to create, run, and improve robots for repetitive computer work.
Mark the processed data row in RunMacro
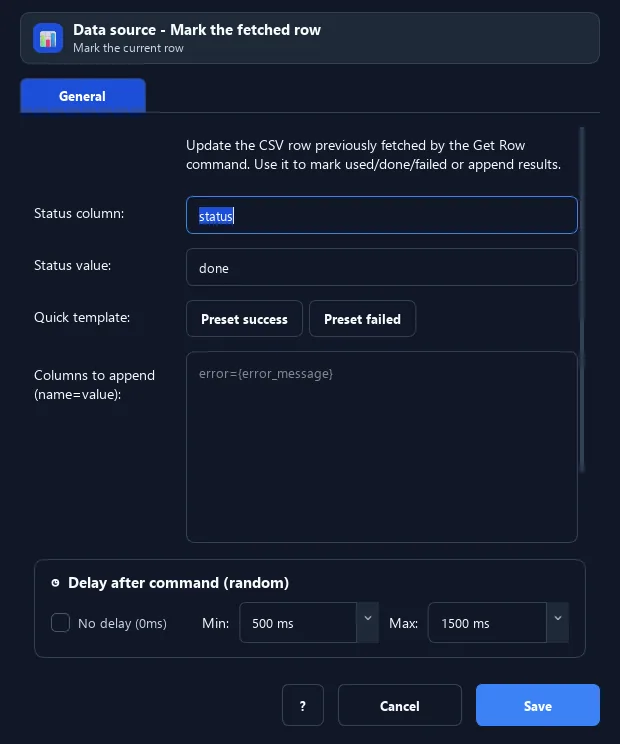
The Data Source - Mark Row command updates the row just fetched (by Get Row) — usually writing a status column to done.
Prerequisites#
- Add Data Source - Mark Row to the macro.
- Prepare the data or target that Data Source - Mark Row will use.
Supported modes#
- RunMacro Runner
What it does#
The Data Source - Mark Row command updates the row just fetched (by Get Row) — usually writing a status column to done. It supports CSV, Excel, and Google Sheet, and can update extra columns.
Screenshots & video#
When to use it#
- Mark a row processed so it is skipped next time.
- Write a result/note back to the same row.
- Chain after Get Row in a loop.
When not to use it#
- Do not use it with read-only sources or without a stable row/status identifier.
Configuration steps#
- Make sure Get Row ran before this.
- Add a File › Data Source - Mark Row command.
- Set the status column and value (e.g.
done); optionally add extra column updates. Save.
Every option explained#
Expected result#
After execution, Data Source - Mark Row completes the described action and makes its result available to the next step.
Real example#
Example: write done after processing#
- After processing the fetched row.
- Mark Row: column
status=done. - Next run, Get Row skips this row.
Limitations and failure cases#
- Status writes depend on permissions, row index, and current schema; concurrent updates can overwrite each other.
Tips & common mistakes#
For Excel, close the file in Excel before running to avoid write-lock errors.
Verification details#
commands/data_source.py